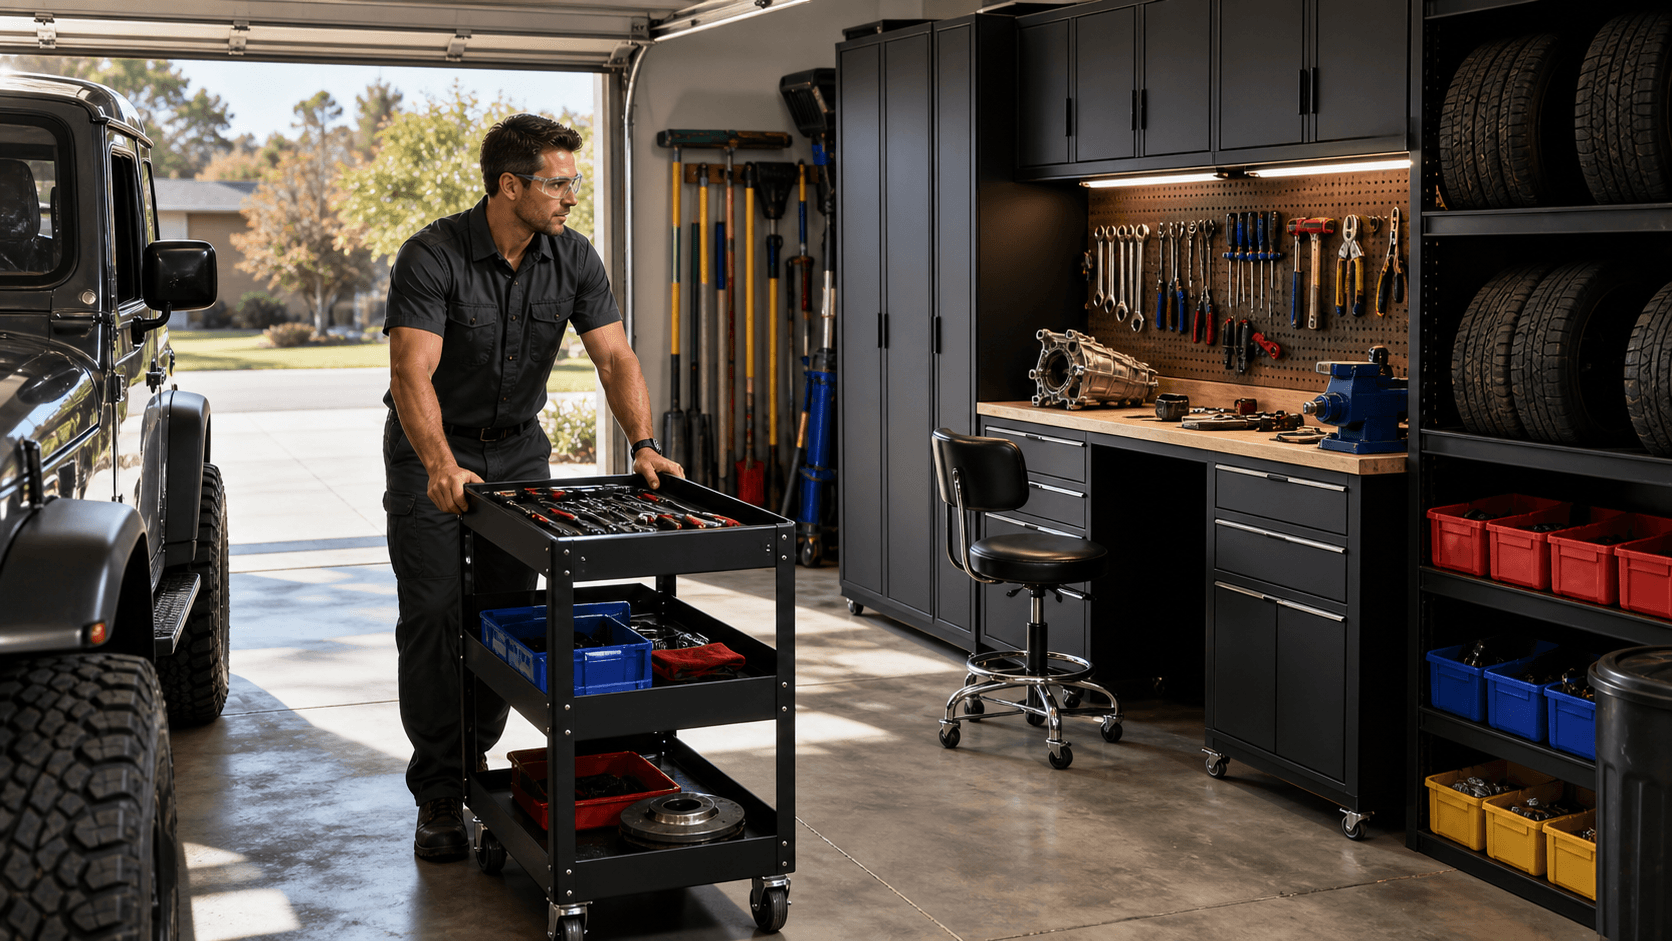
Turn Your Garage Into an Off-Grid Basecamp
Off-grid camping gear is fun on the trail and a headache the second we get home. Totes piled in the corner, mystery cords, sandy tents in a heap, and a half-drained power station that might or might not make it through the next weekend. The gear that makes trips awesome can quickly turn our garage into chaos.
There is a better way. When we treat the garage like a basecamp instead of a dumping zone, everything changes. We get safe storage, steady charging, and fast turnaround between trips. In this guide, we will walk through how to zone your garage for off-grid camping gear, protect power gear from heat and cold, set up a simple charging station, and build easy maintenance habits that fit between busy late-summer and fall trips.
Map Your Garage Into Adventure Zones
First, we give every type of gear a clear home. That keeps things from drifting into random piles and lets us grab what we need in minutes.
Think of your garage in four simple zones:
- Power Zone: batteries, solar panels, power stations, generators, inverters, cords
- Camp Living Zone: stoves, cookware, water containers, coolers, tables, camp kitchens, chairs
- Sleep and Shelter Zone: tents, rooftop tents, tarps, awnings, sleeping bags, pads, cots
- Recovery and Tools Zone: recovery boards, jacks, shovels, compressors, tool kits, tow straps
Vertical storage is the secret weapon. Off-grid camping gear is bulky, so we want to get it up off the floor and on the walls or overhead. Wall systems, overhead racks, slatwall, and sturdy garage cabinets keep things:
- Away from moisture on the floor
- Out of the path of your vehicle
- Safe from late-summer heat pooling in tight corners
Clear bins and labeled drawers are a huge help. When we can see what is inside and read a big label like "Cook Kit" or "Water," we can basically shop our own garage. That cuts pre-trip packing time and reduces those annoying moments when we realize the headlamps are still hiding in a random tote.
Protecting Power Gear From Heat, Cold, and Clutter
Power gear is the fussy kid in the family. Lithium batteries, power stations, inverters, and solar generators do not like extreme heat, hard knocks, or sitting in a puddle of spilled cooler water.
A few simple rules keep them safer:
- Store batteries and electronics in enclosed cabinets or wall-mounted lockers
- Keep them off the bare floor and away from doors where rain can blow in
- Avoid direct sunlight and hot, uninsulated corners of the garage
In late summer, heat can build up in closed spaces. If you live where temperatures spike, look for a spot with some airflow. A cabinet with vents or small gaps works better than a sealed box that bakes your gear all afternoon. Try to keep power gear away from vehicle exhaust, paint fumes, or fuel vapors too.
Best practices for long-term battery health include:
- Storing lithium batteries at a partial charge if they will sit for a while
- Keeping battery terminals clean and covered so they do not corrode
- Separating fuel-based generators from ignition sources
- Hanging cords and cables on hooks or reels so they do not get crushed or tangled
Good cord routing also cuts tripping hazards. No one wants to face-plant over a power strip while hauling a loaded cooler to the truck.
Build a Dedicated Charging and Testing Station
Next, we turn one small section of wall or a short bench into your home charging hub. This does not need to be fancy. A simple setup might include:
- A surge-protected power strip mounted at a comfortable height
- A few cord organizers or hooks for USB, AC, and DC charging cables
- A small work surface for flashlights, headlamps, GPS units, radios, and lanterns
Right above or inside a cabinet door, post a simple checklist. After each trip, your workflow can look like this:
- Drop every item in its main zone.
- Pull anything with a battery to the charging station.
- Plug in power stations, radios, headlamps, GPS units, satellite communicators, and lights.
- Test each item as it comes off the charger.
- Put every charged piece back into its labeled home.
That checklist can include:
- Top off main power stations and solar generators
- Cycle rechargeable batteries occasionally so they do not sit dead
- Update firmware on GPS or satellite gear when needed
- Check that every cable, adapter, and plug actually works
The goal is simple: if something fails, we discover it in the garage, not miles down a remote dirt road.
Clean, Dry, and Ready with Simple Routines
Storage is only half the battle. Off-grid camping gear lasts longer when it is clean and dry before we tuck it away.
Key post-trip habits:
- Fully dry tents, tarps, awnings, and sleeping bags before stuffing them into bags
- Wipe down stoves, grills, and cookware so grease does not attract critters
- Empty and crack open coolers and water containers so they do not grow mold
Late-summer heat speeds up mildew and breaks down fabrics and coatings. A wet tent crammed into a tight stuff sack in August can smell awful by September. Hanging tents and tarps from overhead racks or on wide hooks lets air move around them. Mesh bags or ventilated cabinets give sleeping bags and pads room to breathe.
We like a simple rhythm:
- Within 24 hours of getting home, do a 30-minute gear reset: shake out dust, dry fabrics, wipe cooking gear, start charging
- Once a month, give high-value items a 15-minute inspection: power stations, generators, rooftop tents, big shelters
- Before fall camping kicks into gear, do a deeper reset: check stakes, repair small tears, replace worn straps, organize bins
When this routine is anchored to your organized zones, it feels quick and natural instead of like a big project.
Lock in a 30-Minute Turnkey Departure Routine
The payoff is real. With a dialed-in garage, we can say, "Want to head out this weekend?" and be rolling in under 30 minutes. No mad scramble, no mystery boxes, no panicked search for the right USB cable or the missing camp stove leg.
Start small if the whole garage feels overwhelming:
- Pick one zone to fix this week, often the Power Zone first
- Next weekend, set up a basic charging and testing station
- Then add labels and a short checklist where you will actually see it
At Garage Gear Direct, we think of the garage as pro-grade staging space, not just storage. With smart wall systems, solid cabinets, and clear zones for off-grid camping gear, every trip feels smoother, safer, and more spontaneous. Your garage becomes the basecamp that keeps the adventure side of life ready to go, even when the workweek is packed.
Power Your Next Off-Grid Adventure With Confidence
If you are ready to camp beyond the RV hookups and still keep the essentials running, we are here to help you gear up. Explore our curated selection of off-grid camping gear to find reliable backup power solutions that match your setup. If you have questions about compatibility or what you really need for your rig, contact us so we can help you plan a setup that works in the real world. At Garage Gear Direct, we help you spend more time enjoying the trip and less time worrying about your power.