

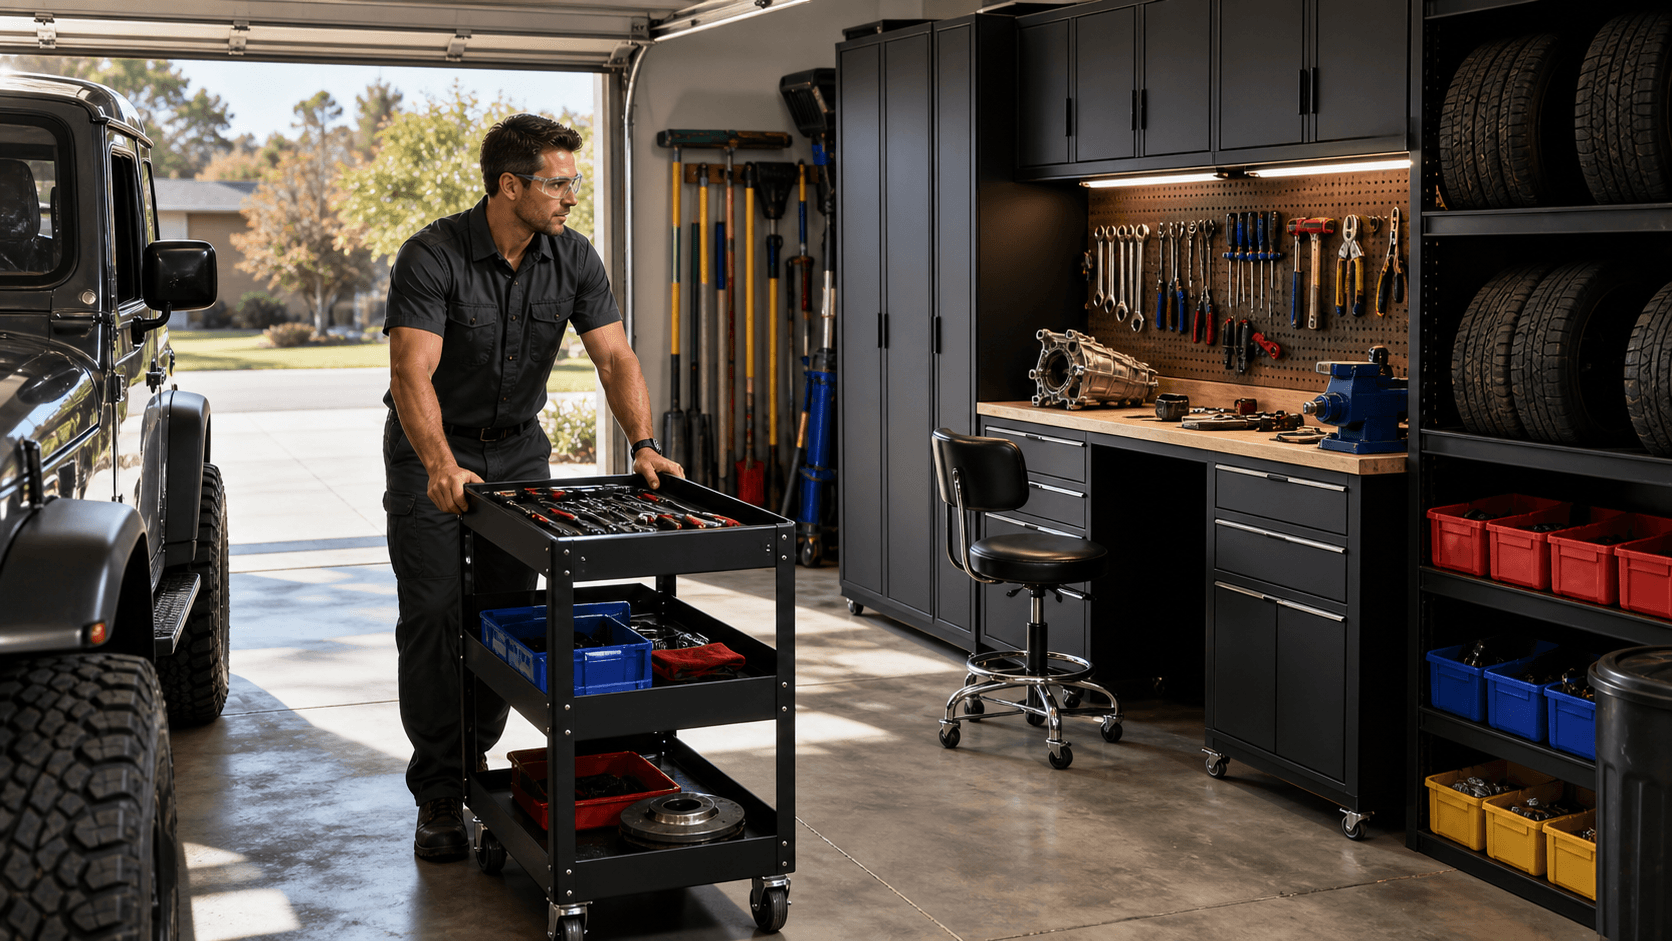
Turn Your Garage Into a Project-Ready Pit Lane
Running car projects in a normal garage can feel like chaos. Parts pile up on any open surface, tools vanish under rags, and a simple brake job eats half the day. The fix is not just more shelving; it is planning your automotive storage around the exact projects you actually do.
In this guide, we will walk through a simple, project-based way to set up your garage. We will use three common DIY jobs as examples: brake service, engine swap or heavy repair, and detailing and seasonal prep. By the end, you will have a clear picture of how to stage parts, separate clean and dirty zones, and build temporary storage workflows that keep every job moving.
Start with the Job, Not the Shelving
Most people start by buying cabinets, then wonder why the garage still feels slow and messy. We like to flip that. Start with the jobs, then design the storage to match.
Grab a notepad and list your top repeat projects, for example:
- Brake service and seasonal tire swaps
- Fluid changes and small repairs
- Basic upgrades like intakes or suspension
- Detailing and interior cleanups
For each project, write down:
- Exact tools you use
- Common parts and fluids
- The step-by-step order you usually work in
Now think in terms of zones by task instead of where things happen to fit:
- Fast-grab hand tools zone near the main work area
- Heavy service zone under and around the vehicle
- Clean finishing zone for detail work and assembly
- Long-term storage zone for specialty tools and rarely used items
Sketch your garage footprint. Mark:
- Vehicle parking spot
- Doors and walkways
- Power outlets and best lighting
- Where oil, dust, and grinding usually happen
Then overlay where each type of project actually happens. Ask, where should the tools and parts live so we take the fewest steps and do the least searching? That sketch becomes your basic plan for automotive storage.
Designing Smart Clean and Dirty Zones
A pro-style garage keeps clean tasks and dirty tasks away from each other. You do not want brake dust on your polishing pads or cutting wheel sparks near your fresh gaskets.
Think of one side of the garage as the dirty zone:
- Teardown, grinding, and heavy wrenching
- Fluids, brake cleaner, and greasy parts
- Floor jacks, jack stands, drip pans
Above a sturdy workbench in this area, wall racks and pegboard are perfect for:
- Impact guns, air tools, and breaker bars
- Brake tools, pry bars, and hammers
- Frequently used sprays and fluids in safe trays
On the other side, build your clean zone:
- Closed cabinets or lidded bins for pads, polishes, and wax
- Microfiber towels sorted by use: paint, glass, interior
- Gaskets, O-rings, and electrical parts in small labeled organizers
Add a few workflow helpers:
- Dedicated drip mats or trays in the dirty zone, so spills stay put
- A clearly marked surface for "cleaned and ready" parts; never mix with teardown piles
- Trash, recycling, and used-fluid containers right at the edge of the dirty area, not buried in a corner
With that split in place, the whole garage feels calmer. You always know which side a tool or part should live on.
Brake Service Layout with Parts Staging That Flows
Brake jobs are a great test for your layout. They do not need huge space, but they touch almost every zone.
Start with car position. Park so you have:
- Room to walk around both sides
- Clear access to the main tool wall
- A safe, flat spot for the jack and stands
Keep jack, stands, and wheel chocks together in one parking spot along a wall. Mark a ground spot or tape line for where each wheel and tire will sit when removed. That alone cuts a lot of tripping and hunting.
Next, set up a rolling cart or mobile workbench by the front fender. Pre-stage:
- New pads, rotors, and hardware in the top section
- Brake cleaner, lube, and rags in a small caddy
- Dedicated brake tools and a torque wrench
Use a simple three-stage system:
- Incoming, new parts laid out on a clean shelf, still labeled
- Active, removed parts and fasteners sorted in trays or cups near each wheel
- Outgoing, old rotors, pads, and empty boxes in one bin ready for recycling or disposal
Place impact tools on a wall rack close to the garage door for fast access but off the floor. Keep torque wrenches in a padded drawer in the clean zone so they stay accurate. Store brake cleaner and other flammables together in a stable spot, not on top of random boxes. And make sure a fire extinguisher is visible and easy to reach from the dirty zone.
Engine Swap and Heavy Repair Storage Strategy
Big jobs like engine swaps or clutch work can turn a garage into a parts explosion. A solid automotive storage plan keeps that under control.
Build in a few heavy-duty zones:
- Overhead or wall storage hooks for hoist chains, load levelers, and lifting straps
- A marked parking spot for the engine stand where you can walk all sides
- Strong shelving for heads, manifolds, exhaust sections, and large brackets
To keep parts sorted, try color-coded or clearly labeled bins:
- Front, rear, left, right, top end
- Intake system, fuel system, cooling, accessories
Use clear lidded containers for fasteners and small pieces, grouped by subsystem. For example: all hardware for the front accessories in one box, transmission bolts in another. Heavy items like jacks, transmission jacks, and big fluid containers should live low, on sturdy shelves or in base cabinets.
Plan temporary storage too:
- A tarped pallet or stout dolly for the old engine, so it rolls out of the main work path
- A marked "machine shop run" shelf where anything that needs outside work gets staged
- A clean, no-grind area reserved for freshly prepped assemblies so they never wander back into the teardown mess
This way, even a long engine project stays readable. You can pause for a week and still know where everything belongs when you come back.
Detailing and Seasonal Prep Without the Clutter
Detailing has its own rhythm. You need light, water, and very clean gear. Mixing that with dirty work ruins results fast.
Set up a simple detailing bay:
- Park the vehicle where you get the best light
- Keep hose access clear and cords out of the splash zone
- Use a wall system or cabinets by that area for wash buckets, soaps, and tools
Group supplies by task:
- Wash, soaps, mitts, wheel brushes
- Correction, polishers, pads, compounds
- Protection, sealants, wax, spray detailers
- Interior, cleaners, brushes, dressings
Protect those supplies from heat and dirt:
- Store chemicals in closed cabinets away from direct sun
- Keep microfiber in sealed bins sorted by job; never mix paint towels with wheel towels
- Use a small, clean table for pads and applicators so they are not sitting on a greasy bench
Late summer is a great time to tune this setup. While you are building your detailing zone, stage winter prep gear too:
- Snow tire tools and specific sockets in one tote
- Winter fluid top-off kit, washer fluid, coolant mix, oil
- Cold-weather emergency gear near the garage exit so it is the last thing loaded
Lock in Your Layout and Upgrade It Over Time
Once your zones and workflows are in place, treat each big project as a test. After a brake job or fluid service, think through the slow spots. When did you walk across the garage three times? Which tools were always missing? Move those items closer to the action before the next project.
Small upgrades can make your setup feel like a pro pit lane:
- One good rolling cart for parts and tools
- Magnetic tray rail near the dirty zone
- Vertical tool rack by the main work area for jacks, hoses, and cords
At Garage Gear Direct, we focus on durable, no-nonsense gear that supports this kind of project-based planning, so serious DIYers and weekend wrenchers can run their space more like a shop and less like a storage shed.
Make a habit of a seasonal reset. At the end of each build cycle or weather shift, purge what you do not use, re-label bins, and re-stage key tools for the jobs that are coming. With a little planning, your garage stays an efficient, project-ready workspace all year, ready for the next brake job, engine project, or full detail whenever you are.
Transform Your Garage With Smart Automotive Storage Today
If you are ready to reclaim floor space and protect your tools and gear, explore our curated automotive storage solutions designed to fit real garages like yours. At Garage Gear Direct, we help you choose configurations that keep everything organized, visible, and easy to reach. Have questions about sizing, installation, or custom options? Just contact us and we will help you plan a setup that works from day one.


